Search Lvl. 100 Crafts

Showing posts with label Mason Jar Crafts. Show all posts

Monday, November 6, 2017

Ring Pumpkins

Ring Pumpkins


I have seen this done so many times, and I finally decided that I needed to make one for myself.  It’s a very simple craft, and it’s so easy to individualize each one.


Materials:
  • 20 rings from mason jar lids
  • Orange spray paint
  • Florist wire
  • Wire cutters
  • Cinnamon stick
  • Artificial leaves
  • Artificial vine
  • Hot glue gun with glue sticks


Directions:

  • Spray paint the rings on all sides.  It’s best to do 2 coats.  Allow to dry between coats.

  • Once dry, string all 20 rings onto the florist wire.

  • Cut the wire with the wire cutters leaving some extra length for twisting
  • Bring the two ends of the wire together and start twisting the wire.  This will pull the rings into a circle, and the circle will close as you twist.


  • Place the cinnamon stick in the open center of the circle (this is your stem), using the hot glue to keep it in place

  • Using the hot glue, embellish with the vine and leaves, as desired

Monday, October 9, 2017

Jar Lid Paper Pumpkins

Jar Lid Paper Pumpkin


Pumpkins from Mason jar lids decorated with paper and mod podge


This is the promised tutorial on the pumpkin I made from jar lids using Mod Podge and decorative paper.  I think this version of this craft is just too cute.

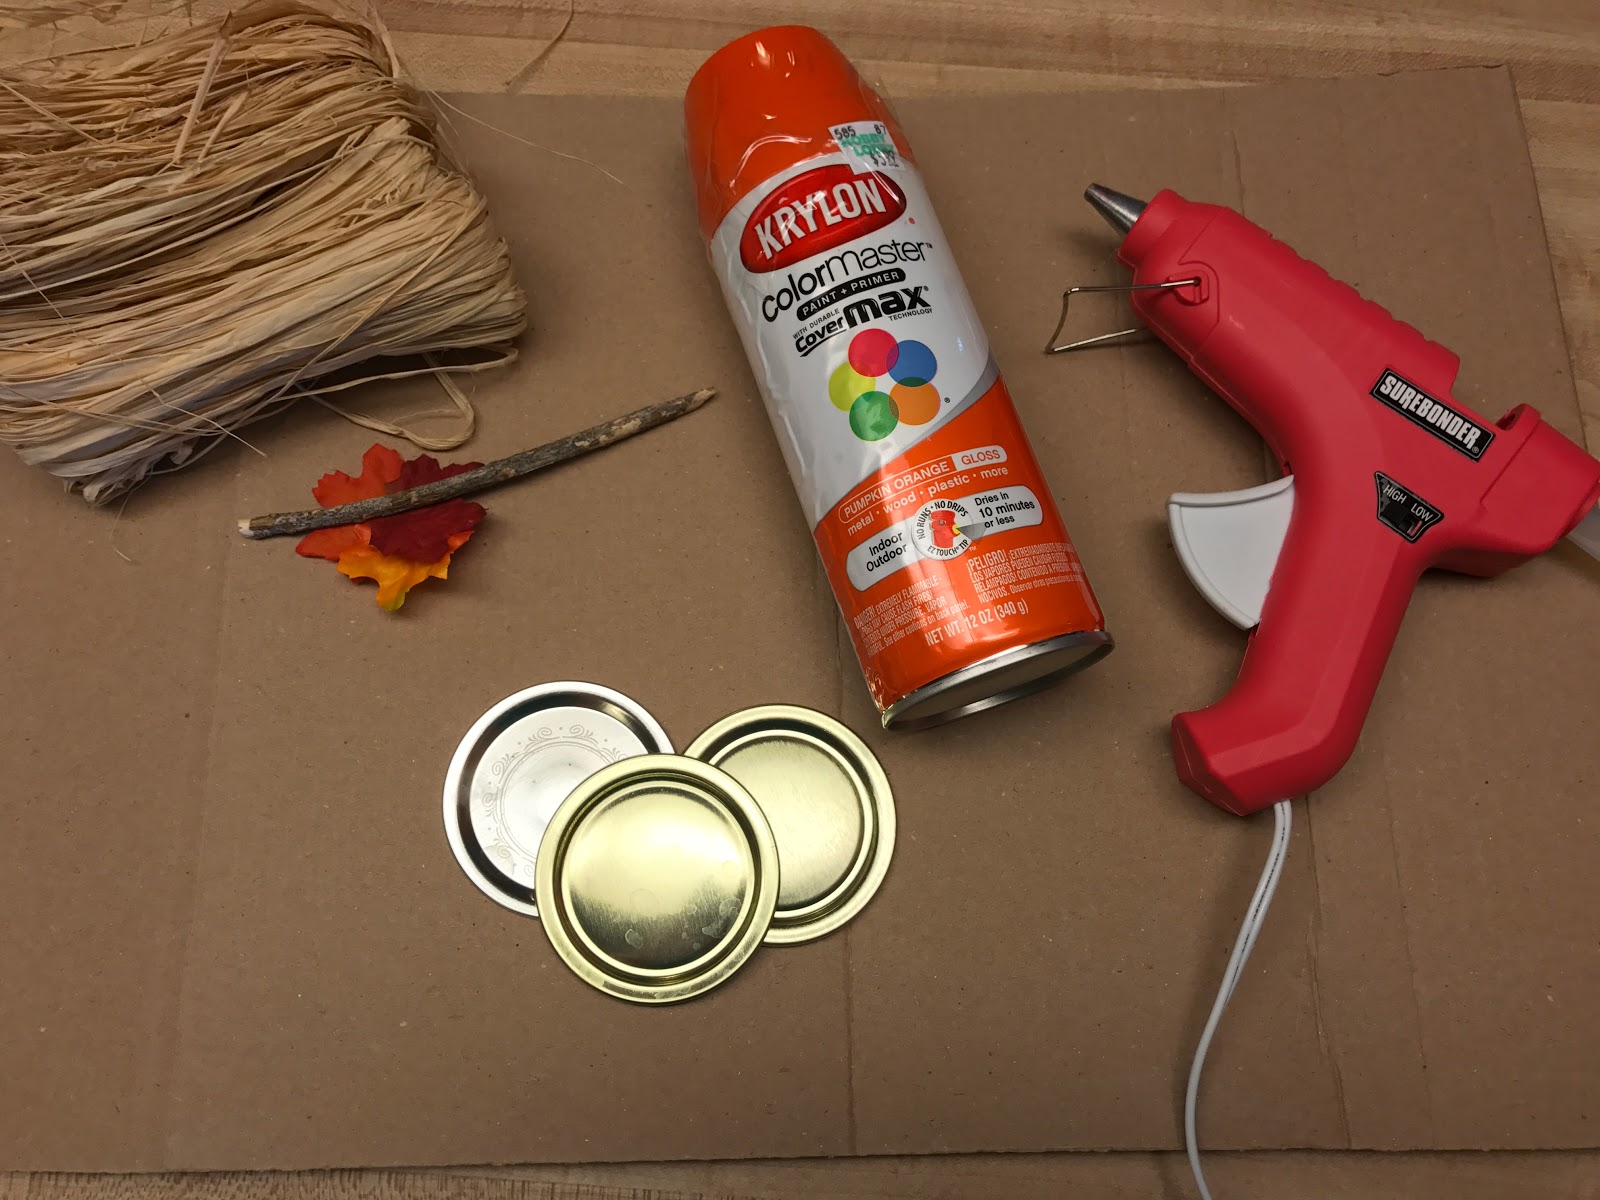
Materials:


3 Mason jar lids
Decorative paper
Mod Podge
Brush (I like the sponge brushes)
Pencil
Xacto knife (or scissors)
Hot glue gun and glue sticks
Stick
Raffia
Decorative elements (I used artificial leaves)


Directions:

  • Trace the outline of the jar lids onto the back of the decorative paper you’ve chosen and cut out with knife (or scissors)


  • Using the brush, apply a thin coat of Mod Podge to the jar lid.  Place the circle of paper on the lid and smooth out.  I found it easiest to press firmly on the rim, then smooth from the center.


  • Allow a few minutes to set, then apply another thin coat of Mod Podge over top of the paper.


  • Do this to all 3 jar lids.


  • Allow the jar lids plenty of time to dry.
  • Once dry, place two of the lids next to each other, and apply hot glue to the center.  Place the third lid on the hot glue so that it is centered over the other two lids.  Allow a few minutes to set (I put mine upside down for this)


  • While the hot glue is setting, tie the raffia onto the stick.  You can just do a bow, or you can make a loop as well so you can hang it.  Just make a loop with the raffia, then wrap the raffia around the stick under the bow.  Make sure you wrap it several times, then knot it.


  • Hot glue the stick and any other decorative elements (leaves, ribbon, etc.) to the back of the lids.


  • Allow this to set, and enjoy


Wednesday, October 4, 2017

Mason Jar Lid Pumpkins and Apples

Jar Lid Pumpkins and Apples


I was browsing through Pinterest, and I saw the pumpkin version of this.  I thought that it was adorable, and I needed to make this happen.  Then I got to thinking that apples get overlooked so much during the fall (except for cooking and drinking, of course).  I could do  something similar but make it as an apple.  Then my mind went in the direction of using decorative papers for this (I’ll post that one for my next blog).  The result is what I have here.  I hope you have as much fun with this as I have.


Materials:


3 Mason jar lids
Spray paint
Hot glue gun and glue sticks
Stick
Raffia
Any other decorative elements you like (I used artificial leaves)


Directions:

  • Spray paint the lids (red for an apple and orange for a pumpkin) and allow to dry


  • Once dry, place two of the lids next to each other, and apply hot glue to the center.  Place the third lid on the hot glue so that it is centered over the other two lids.  Allow a few minutes to set (I put mine upside down to set)


  • While the hot glue is setting, tie the raffia onto the stick.  You can just do a bow, or you can make a loop as well so you can hang it.  Just make a loop with the raffia, then wrap the raffia around the stick under the bow.  Make sure you wrap it several times, then knot it.


  • Hot glue the stick and any other decorative elements (leaves, ribbon, etc.) to the back of the lids.


  • Allow this to set, and enjoy


Monday, September 18, 2017

Fall Leaf Jars

Fall Leaf Jars


What can you do with those empty jars you have lying around?  This is always a conundrum.  Fortunately, there are many crafts that can use those jars instead of throwing them away.  This craft is very simple and easy to personalize.  I have made these a few times for fall and will likely make some around Christmas this year.  You can use these jars as candle holders (I love the flameless tea lights), pen holders, snack holders, or to hold whatever knick knacks you may have that will fit.  If you don’t want to use the leaves, you can use seasonal napkins, pictures from magazines, or decorative papers.


Materials:


Empty clean jar (any size)
Mod Podge (any type, I like the sparkle type)
Sponge brushes
Artificial leaves (thin works best)
Raffia
Flameless tea light (optional)


Directions:

    • Apply a coat of Mod Podge to a section of the outside of the jar.
    • Place a leaf (or napkin, picture, paper, etc.) where you would like it to go.
    • Apply another coat of Mod Podge over the leaf.  For the leaves, you may need a thick coating over the leaf in order for it to really soak through the leaf and hold.
    • Continue steps 1-3 working in sections around the jar until you have the coverage you like.
    • Allow to dry.  If you used a thick coating on the leaves like I did, you may have to leave it overnight.


    This is what it will look like before it dries.  It will dry clear.


    • Tie the raffia in a bow around the top of the jar.
    • Enjoy.


    Wednesday, August 30, 2017

    Fairy Lights

    Fun Lights


    Last year, my mom and I were making some plum rum jam (I’m noticing a theme with our jams: rum is popular).  We had several half-pint jars left over and were trying to decide what to do with them.  Naturally, we turned to Pinterest for ideas (warning: Pinterest is a black hole of time if you’re not careful).  We found some ideas, but fell in love with a glittery lantern idea.  Here, I will share with you how to make these cute little lights.  They are perfect for a birthday party or any party really.


    Items Needed:
    • Empty jars (we used half-pint), clean and dry
    • Hairspray (the aerosol kind works better than the pump)
    • Glitter
    • Flameless tea lights (one for each jar)
    • Spray paint (optional)


    Instructions:

    1. Spray the inside of the jars with the hairspray.  Be sure to coat it well.
    2. Quickly pour in the glitter and rotate until coated.  The amount will vary depending on how thick of a coat you want.  I like mine a bit thinner so the light can be seen better.
    3. Allow to dry.  Meanwhile, if you choose to, spray paint the lid of the jars.  Allow these to dry.
    4. Once dry,  place the tea light on the inside of the lid and screw the jar on top.  Place where you desire and enjoy.