Search Lvl. 100 Crafts

Wednesday, August 30, 2017

Fairy Lights

Fun Lights


Last year, my mom and I were making some plum rum jam (I’m noticing a theme with our jams: rum is popular).  We had several half-pint jars left over and were trying to decide what to do with them.  Naturally, we turned to Pinterest for ideas (warning: Pinterest is a black hole of time if you’re not careful).  We found some ideas, but fell in love with a glittery lantern idea.  Here, I will share with you how to make these cute little lights.  They are perfect for a birthday party or any party really.
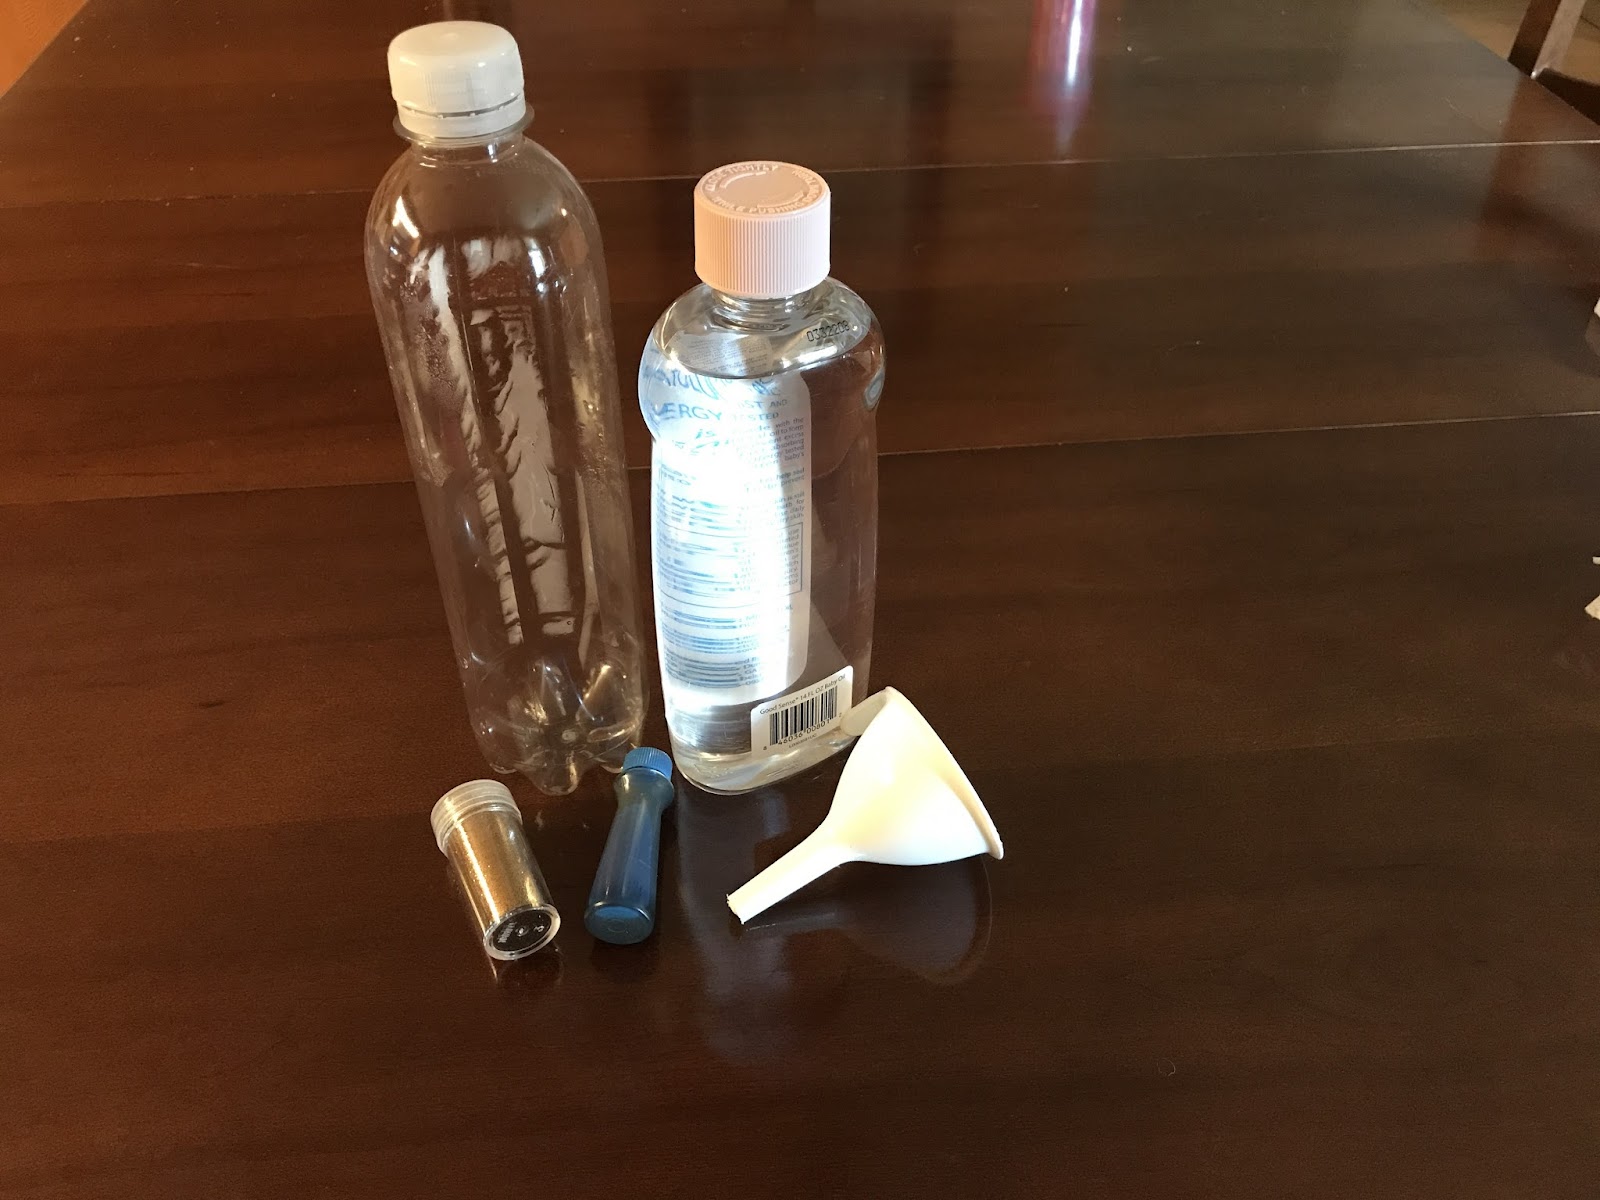

Items Needed:
  • Empty jars (we used half-pint), clean and dry
  • Hairspray (the aerosol kind works better than the pump)
  • Glitter
  • Flameless tea lights (one for each jar)
  • Spray paint (optional)


Instructions:

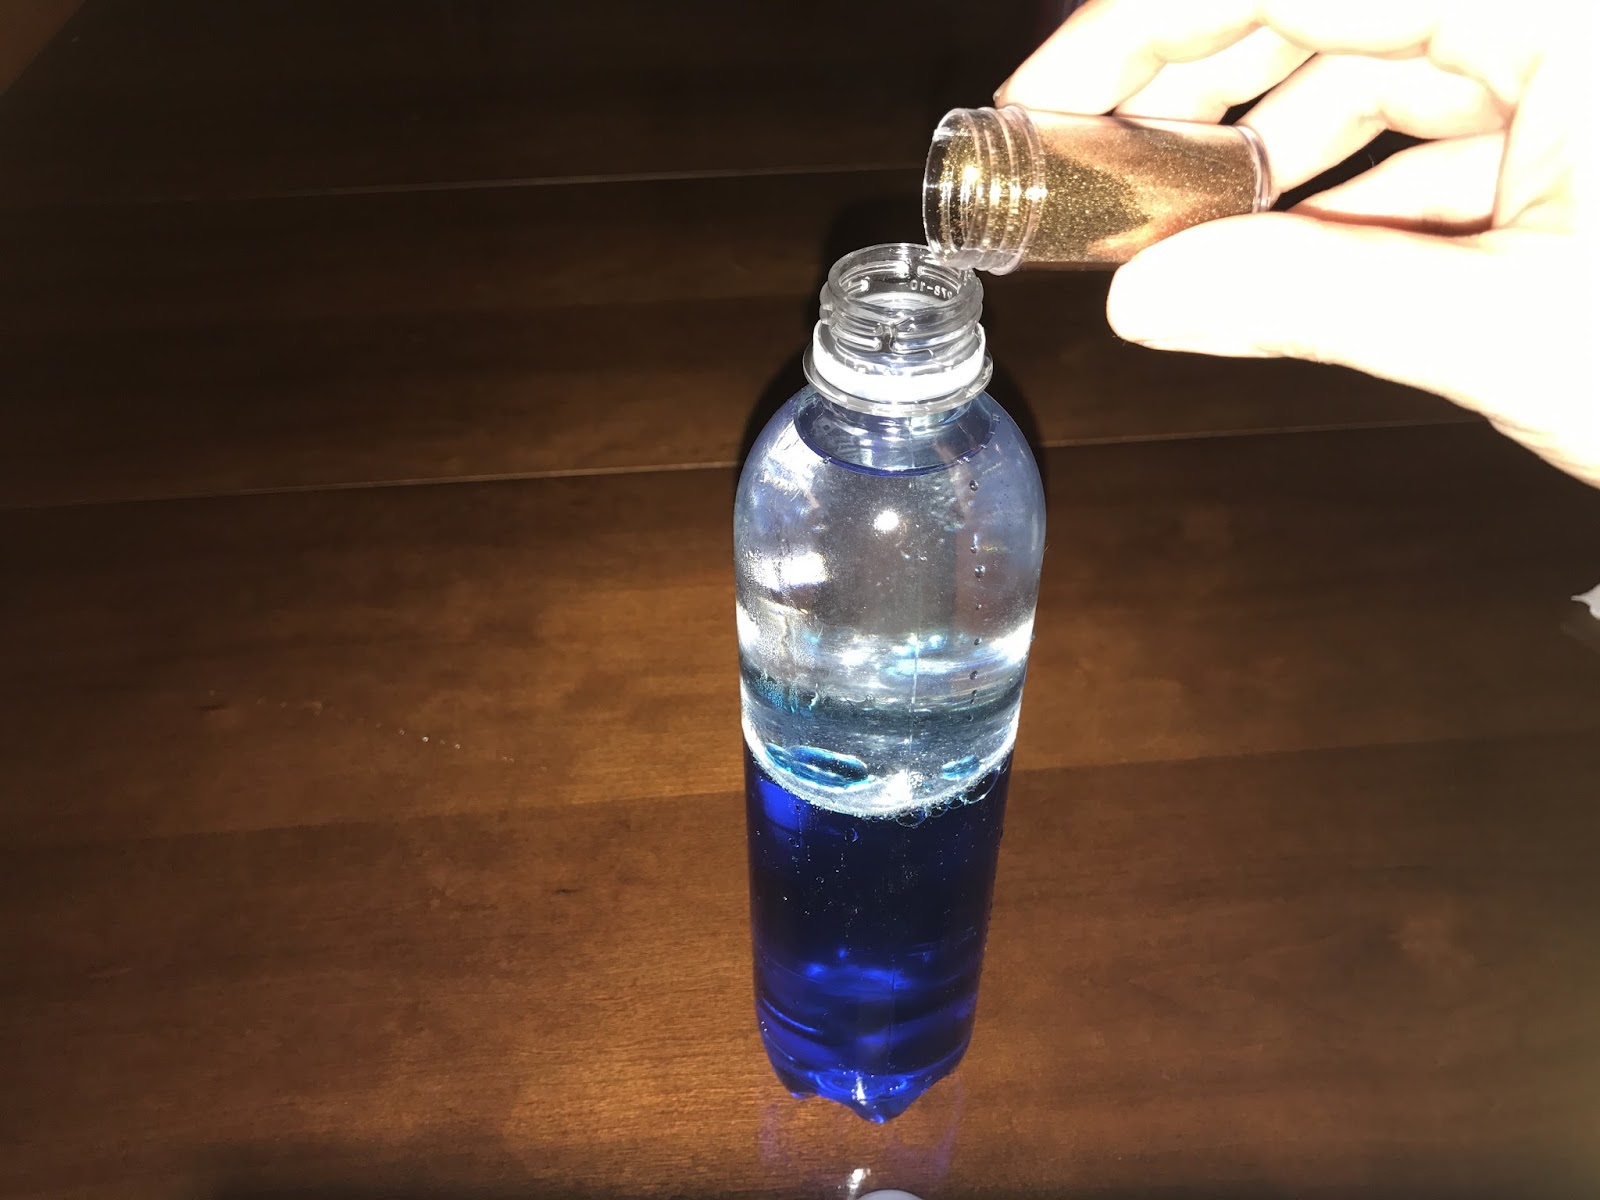
  1. Spray the inside of the jars with the hairspray.  Be sure to coat it well.
  2. Quickly pour in the glitter and rotate until coated.  The amount will vary depending on how thick of a coat you want.  I like mine a bit thinner so the light can be seen better.
  3. Allow to dry.  Meanwhile, if you choose to, spray paint the lid of the jars.  Allow these to dry.
  4. Once dry,  place the tea light on the inside of the lid and screw the jar on top.  Place where you desire and enjoy.


Monday, August 28, 2017

Eclectic Craft Projects

Crafting in General


I do more crafting than just knitting.  Overall, I only recently learned to knit (about 8 years ago).  I’ve been crafting much longer than that.  My crafting tastes have been very eclectic.  I went through a time where I scrapbooked everything (including fortunes from Chinese restaurants).  I still do a bit of scrapbooking, but my focus now is on things I can share with my daughter as well as projects that are fairly quick.

I’ve shared with you a few how-to guides for items I’ve made for my daughter.  She adores wearing tutus, and fortunately those are incredibly simple.  She also has a few tantrums here and there, and a friend of mine told me about calm down bottles.  I have posted tutorials on both of these as well as a variation on the calm down bottle: ocean in a bottle.

I will also be sharing with you a project that I did a while back to display my seashells in addition to a project for leftover half pint jars.  Any new projects I do, I will be sharing as well.  I truly hope you enjoy and am looking forward to hearing your input as well as any tips and tricks you may have for me.

Thursday, August 24, 2017

Fig Rum Jam

Why is the Rum Gone?


This will be the final installment in my jam making saga (for now, at least).  The third type of jam we made was a fig rum jam (or drunken fig if you prefer).  My mom had hoped to make some fig jam with me using the figs from their fig trees.  Alas, she waited too long to pick them and the birds got to them.  Had she picked them earlier, though, the figs would have spoiled before I got there.  Kind of no win either way.  The fig jam was saved though.  My dad was talking with another farmer at the farmer’s market and told him the story of the loss of figs and lack of fig jam making.  This farmer happened to have 12 pounds of figs he was happy to sell.  So, that afternoon we had 12 pounds of figs to make into jam.  Yay!  That’s a lot of jam.


We found a recipe online here and of course made it our own.  Mainly, we used rum instead of brandy or cognac.  I hope you enjoy this recipe as much as we did.  Let me know if you make it and what your thoughts are.  If you make any tweaks of your own, feel free to share them here.  I love hearing how you make it your own.


Ingredients:


2 Lemons
4 pounds ripe figs, stemmed and cut into ½ inch pieces
Peel of 2 lemons, sliced into thin strips
4 cups granulated sugar
¾  cups rum


Tools:


6 half-pint jars with lids
2 large stock pots, one filled with water
Canning rack, placed in large stock pot full of water
Immersion blender
Jar tongs
Ladle
Funnel


Instructions:
  1. To prepare your jars, begin by boiling the water in the pot with the rack.  Place the jars and lids on the rack and allow to sit in the boiling water for 10 minutes.  Use the jar tongs to remove and place on a clean towel.  This may need to be done in batches and can be done at the same time you are preparing the jam mixture.  Do the same thing for the lids and rims.
  2. In a stock pot, combine the figs, lemon peel, sugar, and rum.  Let stand at room temperature for 1 hour, stirring occasionally.  Use an immersion blender periodically to crush large chunks.
  3. Bring to a boil, stirring constantly until sugar dissolves.
  4. Reduce heat to medium and continue to boil until jam thickens and is reduced to about 6 cups, stirring frequently.  This will take 30-35 minutes.
  5. Remove from heat, and ladle jam into prepared jars, using funnel to minimize spilling.
  6. Wipe rims of jars and use prepared lids and rims to close.
  7. Place the filled and closed jars back on the rack in the boiling water bath of the other stockpot.  Allow to boil for 10 minutes.
  8. Using the jar tongs, remove from the water and place on a clean towel.
  9. Allow the jars to set overnight.  The tops of the lids should “pull in” - when pressed, they do not push in or bounce back.

Wednesday, August 23, 2017

Rhubarb Clementine Jam

More Jam

Yes, it says Rhubarb Orange, but that simpler to say (and write) than rhubarb clementine.


More jam!  My parents recently visited Alaska, and while they were there they picked a lot of fresh rhubarb.  Since they had so much and I was visiting we decided to make some rhubarb jam.  The recipe that Mom had in her canning book was for rhubarb orange jam, but we had clementines instead of oranges, so we substituted.  This jam tasted amazing on grilled chicken!


I hope you enjoy this recipe as much as we did.  Let me know if you make it and what your thoughts are.  If you make any tweaks of your own, feel free to share them here.  I love hearing how you make it your own.


Ingredients:


3 clementines
5 cups rhubarb, chopped or boiled down
1 package (1.75 oz) pectin
6 cups sugar


Tools:


8 half-pint jars with lids
2 large stock pots, one filled with water
Canning rack, placed in large stock pot full of water
Jar tongs
Ladle
Funnel


Instructions:
  1. To prepare your jars, begin by boiling the water in the pot with the rack.  Place the jars and lids on the rack and allow to sit in the boiling water for 10 minutes.  Use the jar tongs to remove and place on a clean towel.  This may need to be done in batches and can be done at the same time you are preparing the jam mixture.  Do the same thing for the lids and rims.
  2. Peel the clementines and slice one of the peels into fine slivers.
  3. Juice all 3 clementines and chop up the flesh.
  4. In a stock pot, combine the rhubarb, sliced clementine peel, clementine juice, and chopped clementines
  5. Whisk in the pectin until dissolved.
  6. Bring to a boil, stirring constantly.
  7. Add in sugar all at once and return to a rolling boil, stirring constantly.
  8. Boil for 1 minute, stirring constantly.
  9. Remove from heat, and ladle jam into prepared jars, using funnel to minimize spilling.
  10. Wipe rims of jars and use prepared lids and rims to close.
  11. Place the filled and closed jars back on the rack in the boiling water bath of the other stockpot.  Allow to boil for 10 minutes.
  12. Using the jar tongs, remove from the water and place on a clean towel.
  13. Allow the jars to set overnight.  The tops of the lids should “pull in” - when pressed, they do not push in or bounce back.


Monday, August 21, 2017

Blueberry Lavender Jam

Making Jam


I recently visited my parents and their goat farm, and while I was there my mom and I made  far more  jam than anyone should make in such a short time.  It was great fun making the jam though.  For my next few posts, I’ll be sharing the recipes we made and letting you know my thoughts on the process and how they turned out (spoiler alert: deliciousness is involved).  The first jam we made was a blueberry jam.  I found a recipe here for a blueberry lavender jam, and we tweaked it a bit to make it our own.  This is also the first time I have used lavender in food, and I was amazed at how delightful it was.  I’ve always loved the smell of lavender; I even went through a phase where the only scent I used was lavender based.  I just never really thought of using it in food like this.  I have really missed out.  Now I have to find other ways to use this aromatic herb.


I hope you enjoy this recipe as much as we did.  Let me know if you make it and what your thoughts are.  If you make any tweaks of your own, feel free to share them here.  I love hearing how you make it your own.


Ingredients:


2 Tbsp dried lavender buds, ground
8 cups blueberries
Zest and juice of 1 lemon
4 ¼ cups granulated sugar
¼ cup granulated sugar
1 package (1.75 oz) pectin
½ - 1 tsp butter


Tools:


8 half-pint jars with lids and rims
2 large stock pots, one filled with water
Canning rack, placed in large stock pot full of water
Blender (can use immersion blender if desired)
Jar tongs
Ladle
Funnel


Instructions:

  1. To prepare your jars, begin by boiling the water in the pot with the rack.  Place the jars and lids on the rack and allow to sit in the boiling water for 10 minutes.  Use the jar tongs to remove and place on a clean towel.  This may need to be done in batches and can be done at the same time you are preparing the jam mixture.  Do the same thing for the lids and rims.
  2. Combine the pectin with the ¼ cup of sugar in a small bowl, set aside.
  3. In a stock pot, combine the blueberries, lemon zest and juice, and ground lavender buds.  Use an immersion blender, and pulse until blueberries are crushed. You can use a blender and pulse to crush the blueberries prior to adding to the stockpot.
  4. Stir in the sugar-pectin mixture and butter.
  5. Bring to a boil, stirring constantly.
  6. Add in remaining sugar all at once and return to a rolling boil.
  7. Boil for 1 minute.
  8. Remove from heat, and ladle jam into prepared jars, using funnel to minimize spilling.
  9. Wipe rims of jars and use prepared lids and rims to close.
  10. Place the filled and closed jars back on the rack in the boiling water bath of the other stockpot.  Allow to boil for 10 minutes.
  11. Using the jar tongs, remove from the water and place on a clean towel.
  12. Allow the jars to set overnight.  The tops of the lids should “pull in” - when pressed, they do not push in or bounce back.

Friday, August 18, 2017

Ocean in a Bottle

Ocean in a Bottle


For those who want a piece of the beach with you even if you can’t be near the ocean.

  • Gather your materials:
    1. Empty bottle
    2. Funnel
    3. Mineral Oil
    4. Blue Food color
    5. Small shells and other beach trinkets
    6. Water
    7. Glue or duct tape


  • Using your funnel, pour in your mineral oil until the bottle is about half full


  • Drop in a few drops of your food color. You don't need much. It will not mix with the oil.


  • Fill the bottle nearly to the top with water.  It’s best if you leave just a little bit of space at the top. The water will mix with the food color as you pour.


  • Add in your shells and other beach trinket


  • Glue or duct tape the lid in place
  • Enjoy a calming sea as you sway the bottle back and forth.


Wednesday, August 16, 2017

Calm Down Bottle

Calm Down Bottle


This is great for a toddler who is really frustrated to help them calm down.  It’s also just pretty to watch.


  1. Gather your materials:
    1. Empty bottle
    2. Funnel
    3. Glitter
    4. Mineral Oil
    5. Water
    6. Food color
    7. Glue or duct tape


IMG_6080.JPG


  1. Pour in the mineral oil until the bottle is about half full


IMG_6070.JPG


  1. Drop in a few drops of your food color; you won’t need very much.  This will not mix with the oil, but it will mix with the water when it’s added.


IMG_6072.JPG


  1. Fill the bottle nearly to the top with water.  It’s best if you leave just a little bit of space at the top.
IMG_6073.JPG


  1. Pour glitter into the bottle.  You will probably need more than you think.


IMG_6081.JPG


  1. Glue or duct tape the lid in place
  2. Shake and enjoy

IMG_6084.JPG

Monday, August 14, 2017

Tutu Tutorial

Tutus


My daughter loves to wear tutus, especially for her birthday.  Fortunately they are fairly simple to make, if you know how. This easy to follow step-by-step tutorial is here to help with that.


  1. Gather your materials:
    1. Cardboard the width of how long you want your tutu (I like 6”)
    2. Spools of tulle.  The actual number depends on how full you want your tutu.  I usually do 2-3 spools
    3. Scissors
    4. Crochet Hook
    5. Stretchy headband used for toddlers


IMG_5938.JPG


  1. Wrap your tulle around the cardboard.  Try to wrap the tulle so that it spreads the length of your cardboard and doesn’t pile up.


IMG_5939.JPG


  1. Once you have the amount of tulle wrapped that you want, cut along only one side of the tulle.  I usually cut the entire spools.


IMG_5940.JPG


  1. Using one piece at a time, fold the tulle in half around the crochet hook.


IMG_5941.JPG


  1. Insert the crochet hook between 2 stitches along the edge of the headband.


IMG_5942.JPG


  1. Catch your tulle with your crochet hook and pull through.   Tighten.


IMG_5943.JPG


  1. Repeat along the entire edge of the headband, alternating colors if you have multiple colors.

IMG_5985.JPG