Bow Tutorial

You know those fancy bows seen on wreaths, doors, windows, and packages? They look intimidating, but in reality are so easy to make. I make these for nearly every wreath I do and for various other decorations (especially during fall and the Christmas season). I recently taught a friend of mine how to make these bows. This friend is not a crafter, and her bow turned out lovely. She was amazed at how simple this was to make.
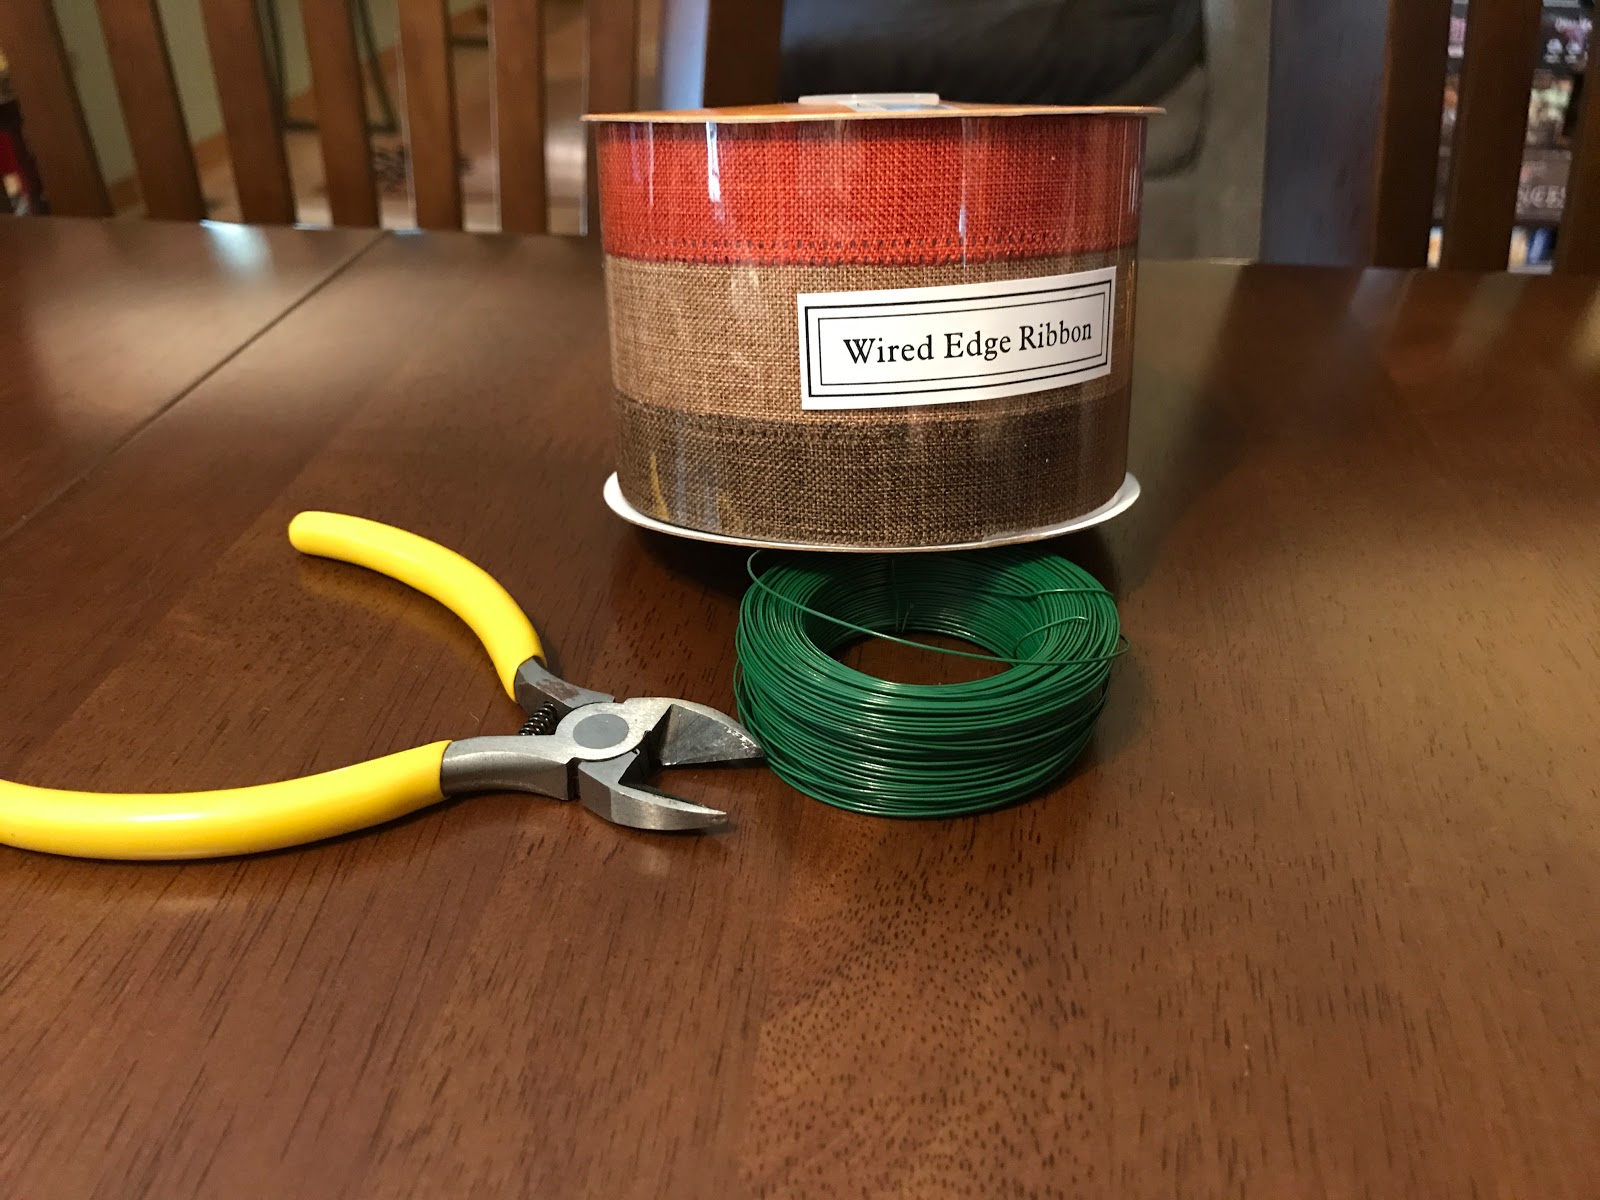
Materials:
- Wire-rimmed ribbon
- Scissors (not shown)
- Wire (florist’s wire works well, but I’ve done this with twist ties from bread bags before)
- Wire cutters
Directions:
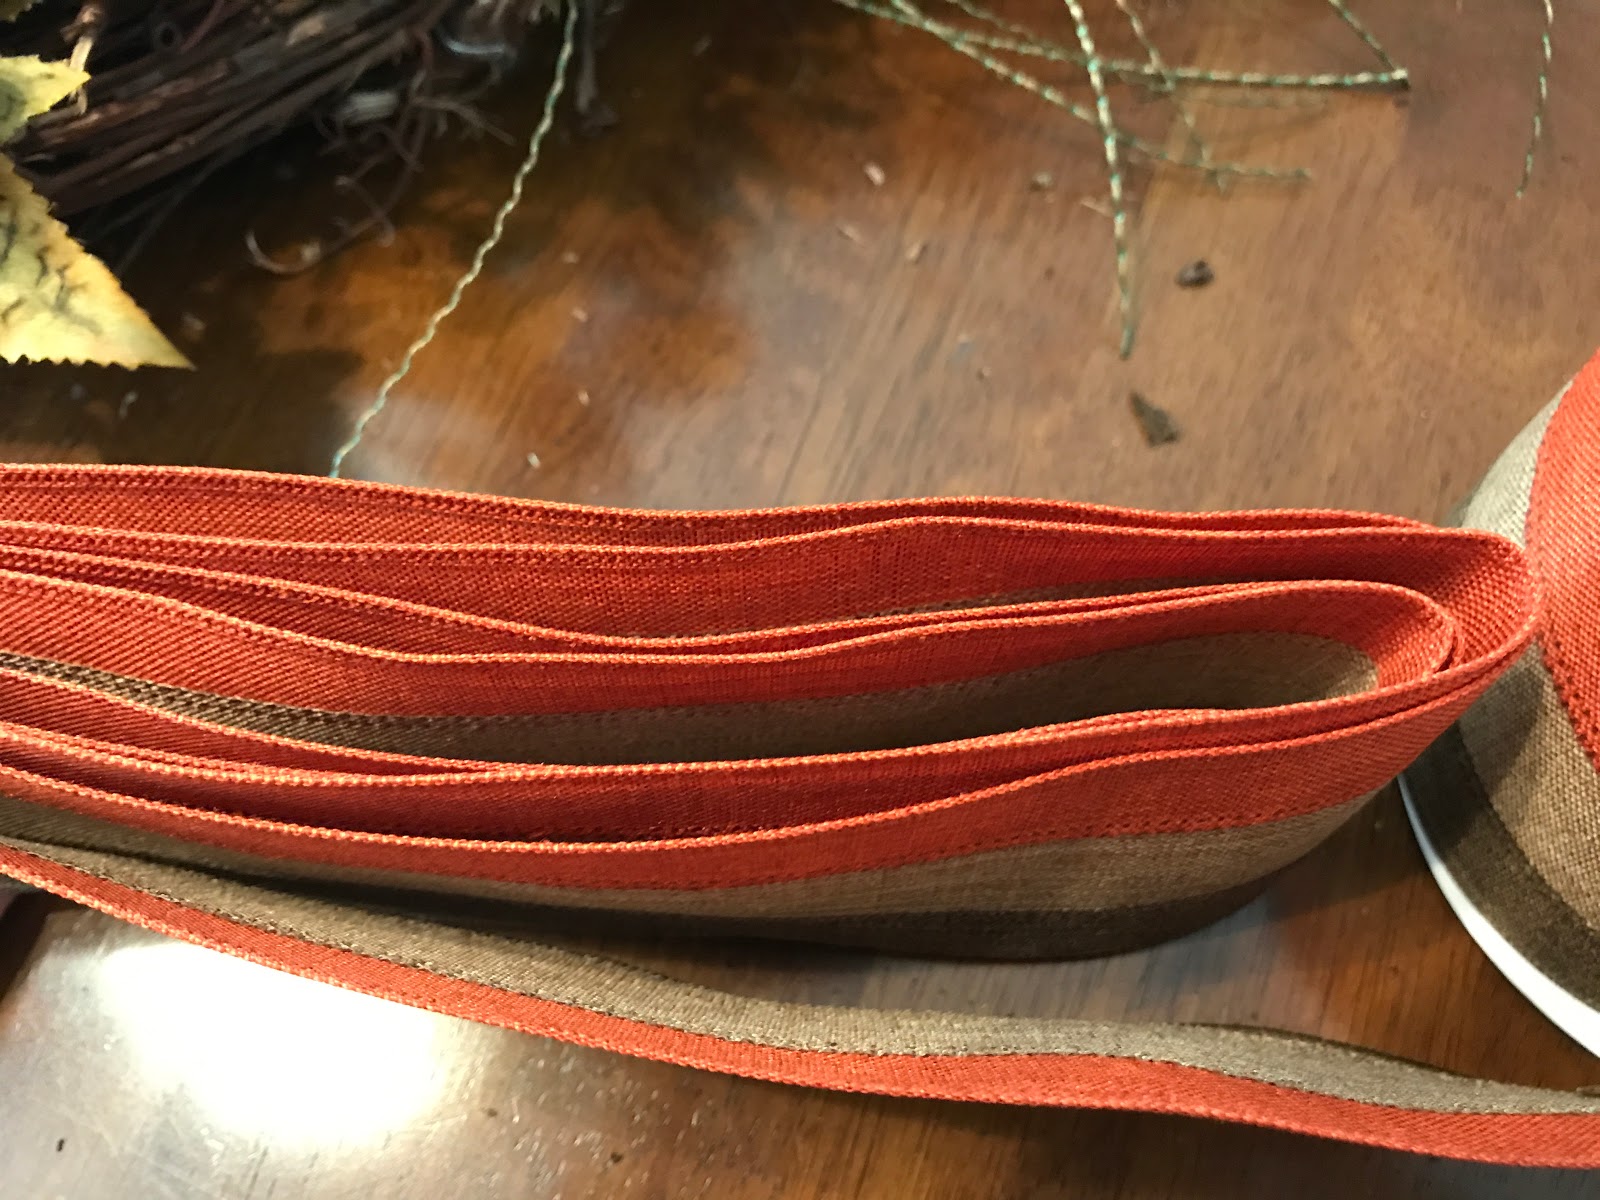
- Measure how wide you would like your bow to be, and stretch out your ribbon to this length. Do not cut yet.
- Fold your ribbon back on itself. This will give you one loop on 1 side and 2 ends on the other.
- Fold your ribbon again so that you have 1 loop on each side and 1 end on each side.
- Continue folding your ribbon until you have 4 loops on each side and 1 end on each side.
- Cut your ribbon with just a little extra length.
- Keeping your ribbon looped, find the center and wrap your wire around it.

- Tighten and twist (like a twist tie on a bread bag). The twist will be at the back of the bow. Leave some wire so you can use it to attach the bow to a wreath, if desired.


- Working with the front of the bow facing you, gently pull both ends down and towards the center of the bow.
- Slightly separate the loops on both ends and shape to desired roundness.


- For a finished look, fold the very ends of the ribbon in half length-wise for a little ways. Then cut on a diagonal.


- Using the extra length of wire, you can wrap the wire around the wreath and twist to tighten in place.

No comments:
Post a Comment